You can easily bulk import tracking numbers with a sample template.
Tracking Number Data Format
The CSV file contains 2 mandatory columns and 5 optional, you must use the same column headers and include all columns:
| Column title | Note | Example |
|---|---|---|
| Order number (required) | WooCommerce Order ID | #1234 |
| Tracking number (required) | tracking number from shipping provider | 92055901755477000271990251 |
| Courier (Optional) | Leave blank to auto-matching | USPS |
| SKU (Optional) | Line item (product) SKU | woo-tshirt |
| Qty (Optional) | Line item (product) quantity | 2 |
| Date shipped (Optional) | Leave blank to use the import date | 2020-11-11 |
| Mark order as Completed (optional) | Leave blank to mark order as Completed; input 0 won't change current status | 1 |
Using ParcelPanel sample spreadsheet template
Step 1
Open the Import sample template link here, then copy the file.

Step 2
Fill in the tracking number data according to the instructions below.
Important:
1.Do not rename or remove any of the column titles.
2.Do not forget to remove the example data in line 1.
Step 3
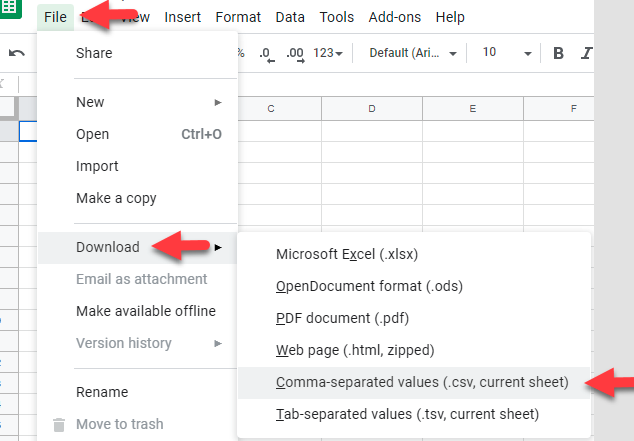
Download the spreadsheet as a CSV file: click File → Download → Comma-separated values (.csv, current sheet)
Step 4
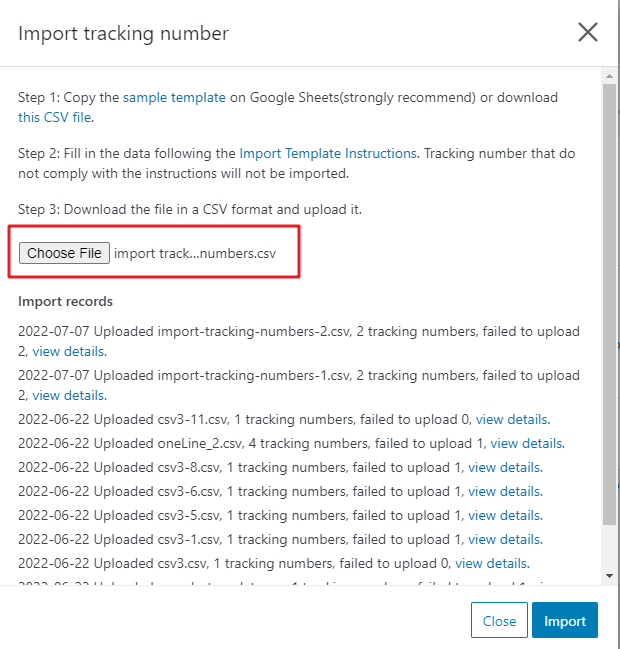
Upload the file in the Import tracking number of your orders section in your ParcelPanel admin.
Note:
1)If you are unable to use Google Sheets, you can download this CSV file. In this case, if you want to specify the courier, the name must match the ParcelPanel supported courier list.
2) Import Tracking per item from CSV
Product sku and quantity are required if you need to import tracking per item from CSV.
e.g. If you receive an order #1234 with with 4 items:
T-shirt (woo-tshirt) x 2
Beanie (woo-beanie) x 2
If you ship the T-Shirts and Beanies in 2 packages, each has its own tracking number, the file should be like:

If you ship the T-Shirts and the Beanie as a set, each set in a package, the CSV File you upload should be formatted this way:
