ParcelPanel will automatically generate a branded tracking page under your store with abundant custom elements, add it to your storefront so your customers can track their orders there by themselves instead of asking your support team, and drive more sales by smart product recommendations.
Video tutorial:
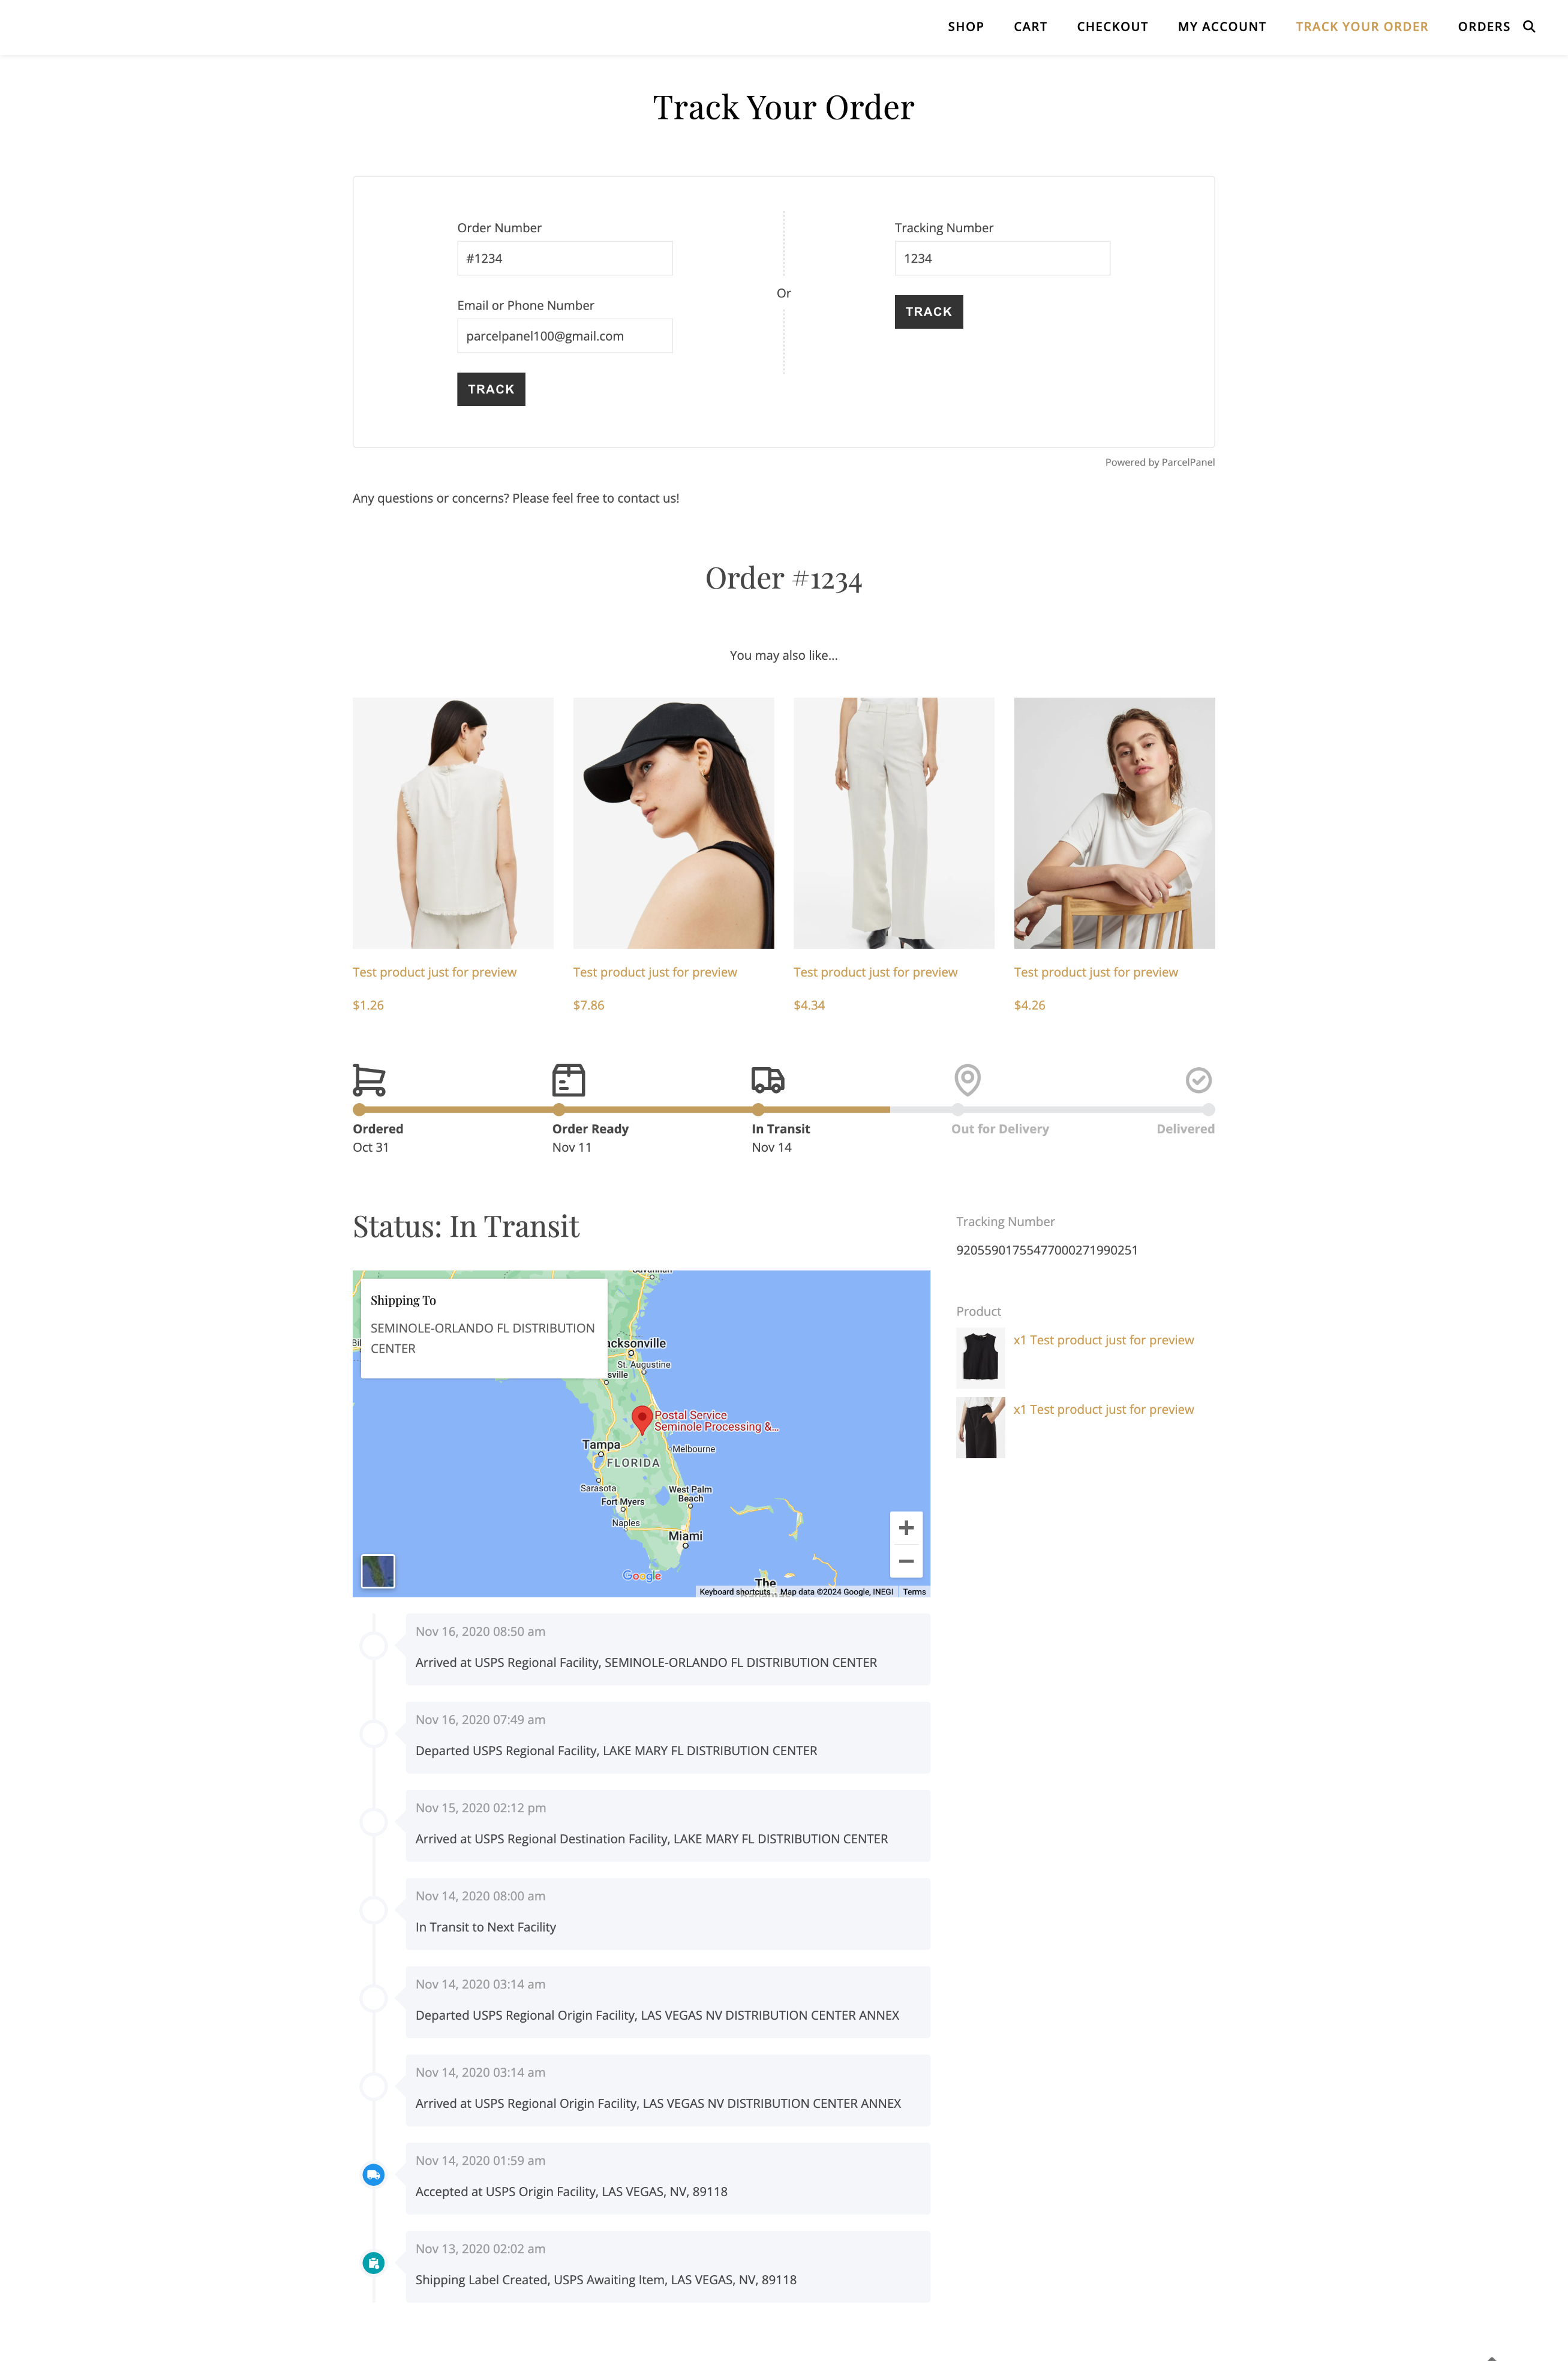
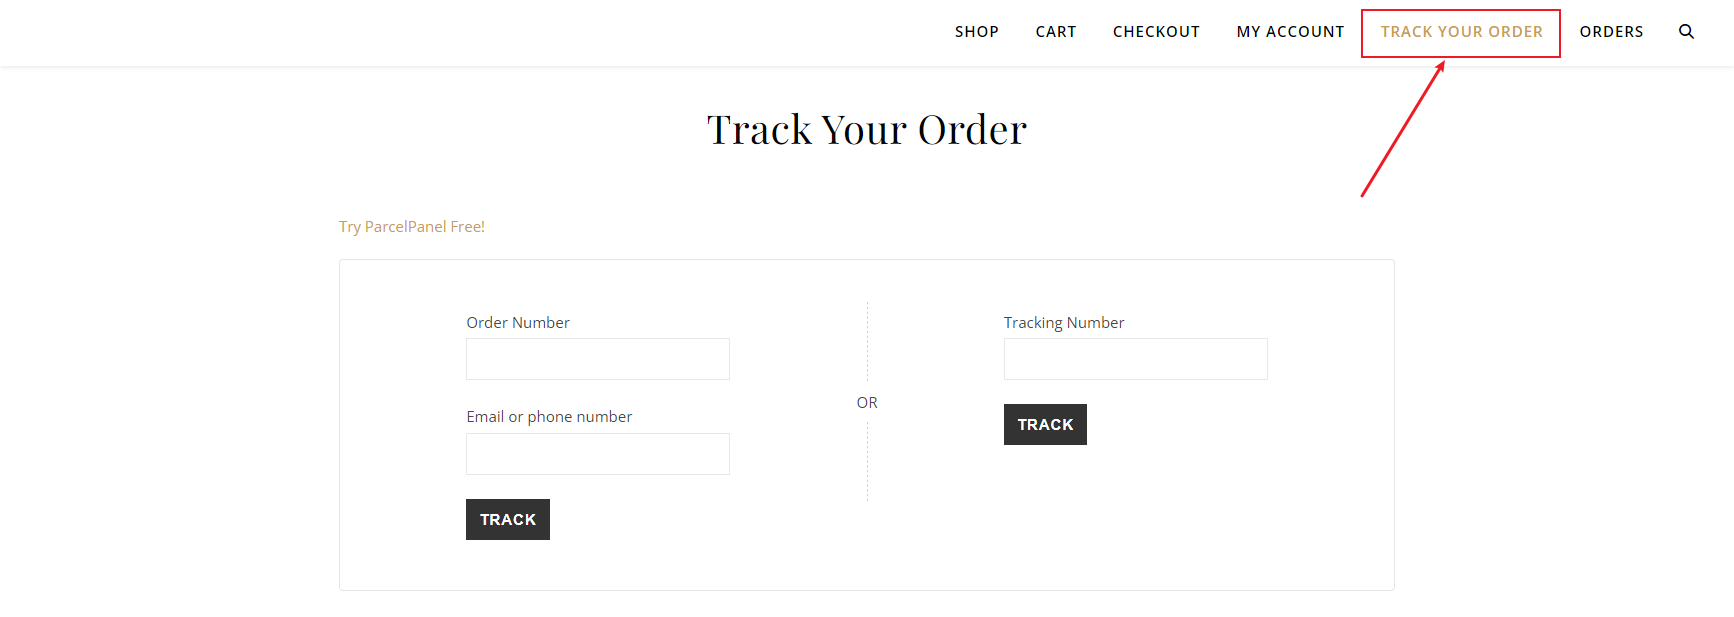
Example Tracking Page
Here is a step-by-step tutorial with images
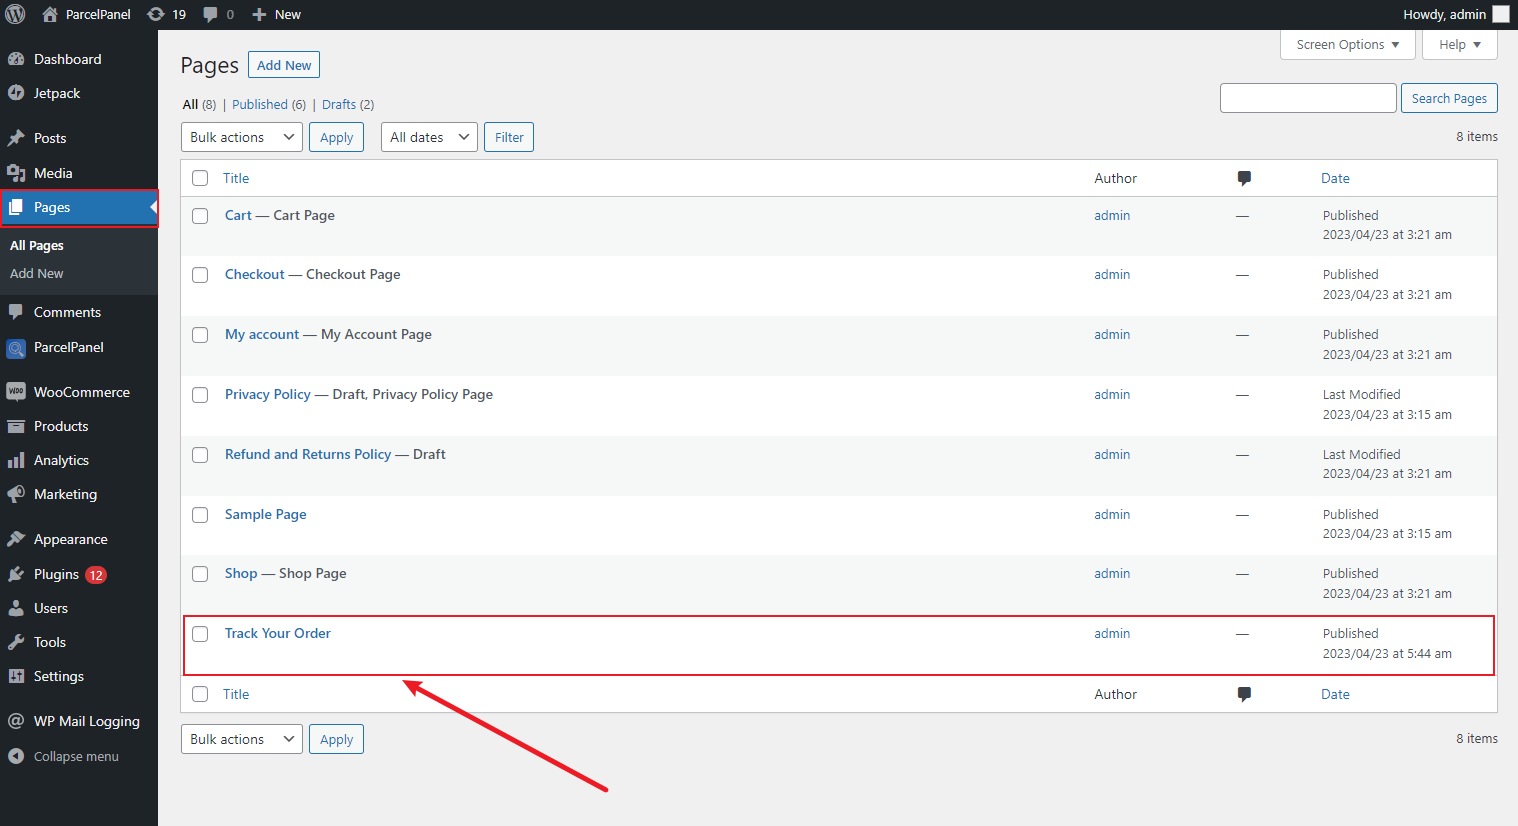
When you install and activate ParcelPanel, ParcelPanel will automatically create a tracking page for your store. You can view it within WordPress Pages.
Step 1
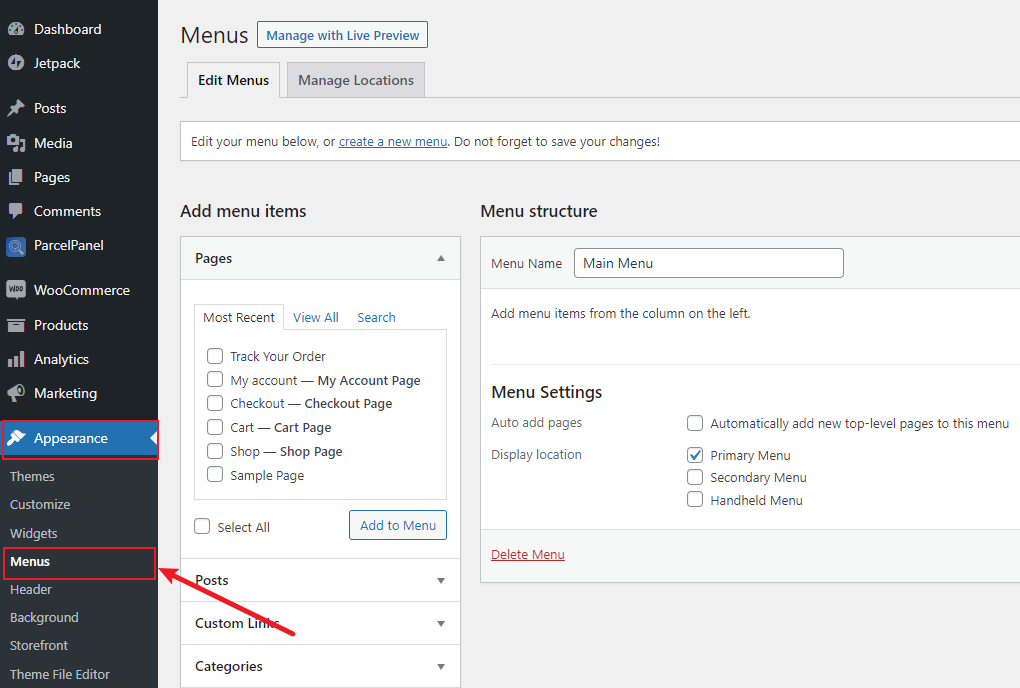
Go to WordPress admin → Appearance → Menus section
Step 2
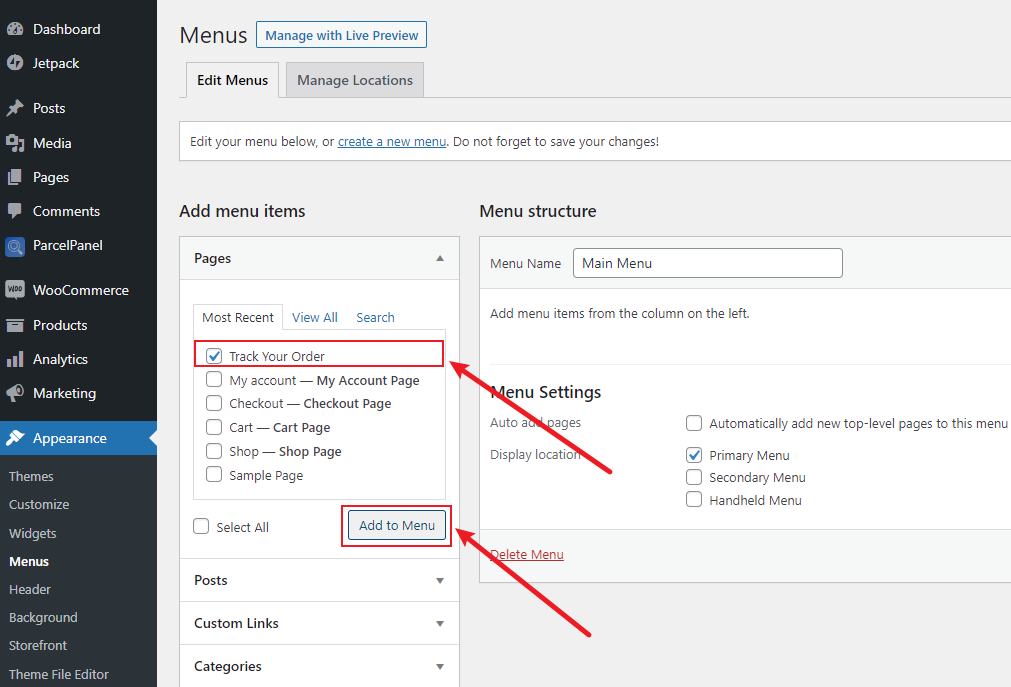
Select the Track Your Order page, then click Add to Menu button.
You can choose anywhere you prefer to add the tracking page, generally speaking, the main menu is a better choice.
Step 3
Save your changes. You can now find it in the navigation bar of your store! Your customers can click to and enter the tracking number to query their package information. At the same time, you can edit the corresponding elements of this page on the ParcelPanel admin → Tracking page.
Add tracking page via shortcode
Step 1
Copy the code below
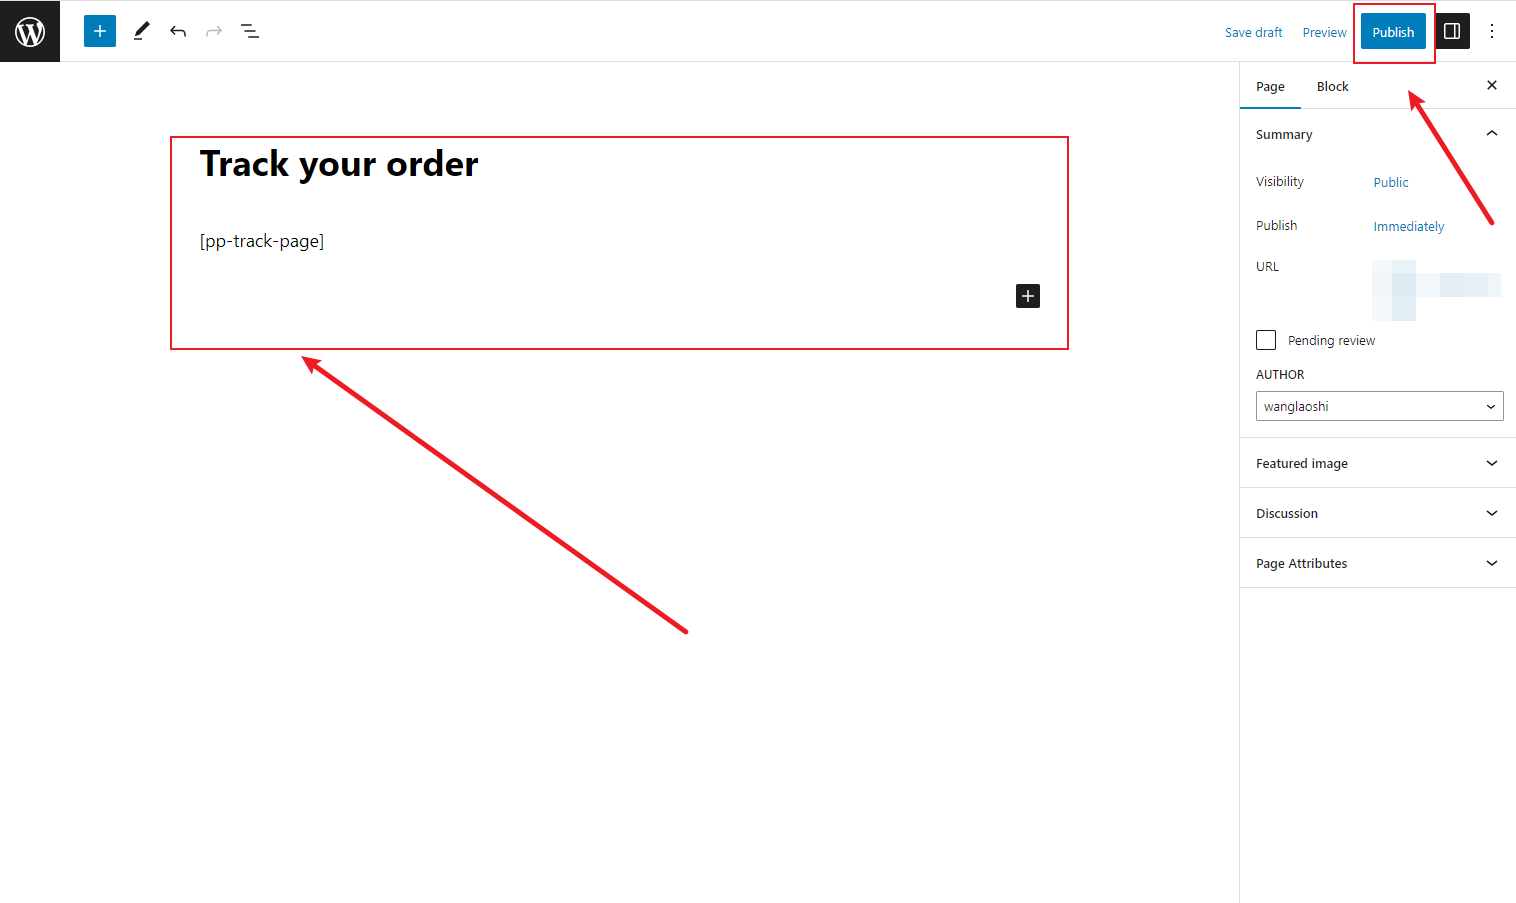
[pp-track-page]
Step 2
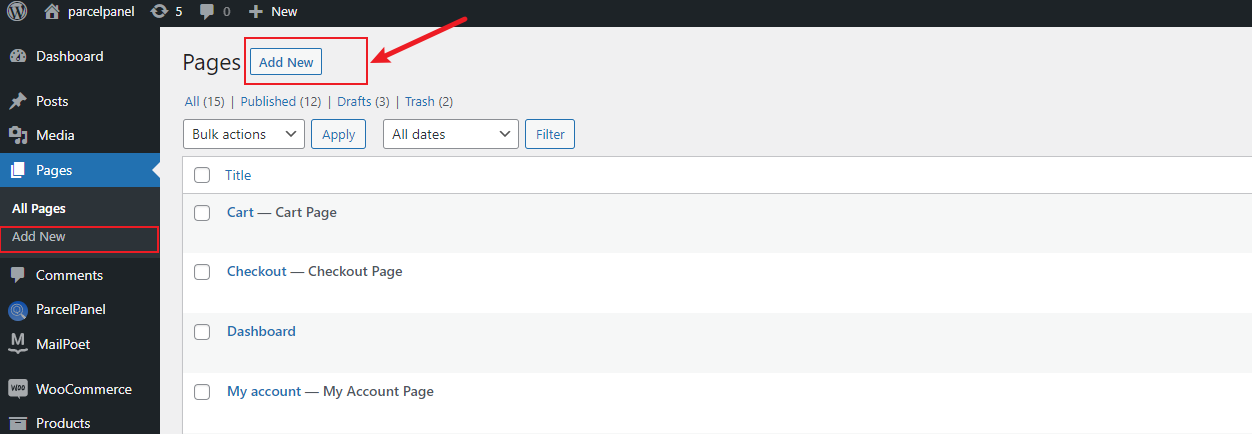
Go to WordPress admin → Pages → Add New section
Step 3
Fill the Title to your needs → Paste the code to the paragraph → Publish the page
Step 4
You can now find it in your store! Your customers can click to and enter the tracking number to query their package information. At the same time, you can edit the corresponding elements of this page on the ParcelPanel admin → Tracking page.

Need help? Feel free to contact us via online chat or email, our world-class 24/7 support team is always here 🌻.